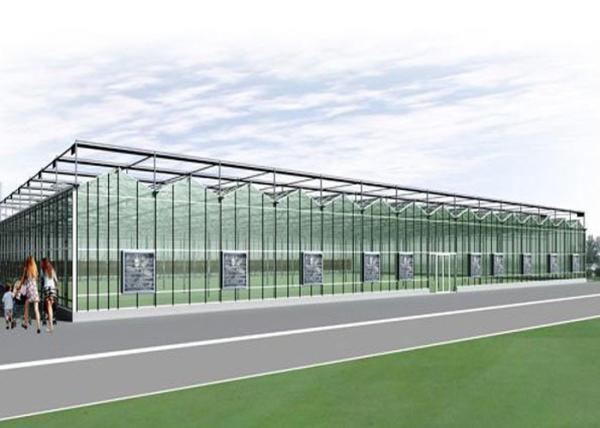
Customized Large Wind Resistance Sheet Polycarbonate PC Greenhouse
Product Description
1. Quick installation: the area of a single PC board is 2.1m × 6m,
which is easy to install without damage.
2. Good insulation performance: the insulation effect of hollow PC
board is better than that of double-layer hollow glass.
3. Light weight: the weight is less than 2kg / m2, which greatly
reduces the load of the main frame and saves the steel of the
frame.
4. Bending ability: PC board has good elasticity and can be bent
into an arc, which is suitable for arched greenhouse.
Covering Material
The top is covered with polycarbonate hollow board (PC version) or
wave board. The material has the characteristics of light weight,
good lighting, heat insulation, UV protection, anti condensation,
square hail, high fire resistance, aging resistance, etc.
Main body of greenhouse
The roof ridge is made of hot-dip galvanized steel frame, with
beautiful appearance and arch shape.
Installation Steps
1. Stretching: according to the drawing elevation, the position and
size of the solar panel ceiling and the measured center line, pop
up the position line of the main framework of the solar panel
ceiling.
2. Embedded parts: check whether the elevation of the upper surface
of the entrance beam meets the design requirements according to the
position of the main frame of the sun plate ceiling of the
elevation control line. In case of any difference, high strength
cement mortar shall be used for cutting or leveling. The size of
embedded steel plate releases the position line of expansion bolt,
then drill holes to place expansion bolt, install steel plate and
fix expansion bolt. Then the center line of the main framework is
cast on the embedded steel plate
3. Install the main framework: according to the position line of
the main framework of the pop-up solar panel ceiling, install the
two ends first, and then install the middle part. The method is:
after the main framework of square steel pipe (Galvanized) is
assembled on the roof, manually place it on the positioning line,
hang it vertically with the line surface, temporarily fix it in the
middle, and weld it with the embedded steel plate. After the main
framework at both ends is installed, pull the middle and both sides
to the specified height (measure three vertical lines from the
supports at both ends of the steel plate, and then install them
from one end to the other end successively until the completion.
4. Gluing and installation of adhesive strip: after overall
inspection of the installation quality of the inner solar panel,
install the inner solar panel, apply weather resistant adhesive and
install special aluminum alloy adhesive strip. The spacing and
position of weld bead screws must meet the requirements of the
drawing
5. Installation of external solar panel: prepare a layer of 20
thick outer layer with appropriate size for installation according
to the layout position of the detailed design. After the
installation of the solar panel, the edge, longitudinal seam and
transverse seam shall be installed in a straight line.
6. Installation of inner solar panel: prepare a 16mm solar panel
with a suitable inner layer for installation according to the
drawing position. Clean the bottom of the upper panel with a white
towel during installation, and clean the upper surface of the inner
solar panel before installation to avoid interlayer pollution.
Unable to clean up, affecting macro effects.
7. Adhesive strip: after overall inspection of the installation
quality of the external solar panel, install the external solar
panel and weather resistant adhesive, and then install the special
aluminum alloy adhesive strip. The distance and position of the
screws for installing the weld bead must meet the requirements of
the drawing.


